You’ve probably heard that practice makes perfect. Well, the same is true for letter formation. The more your child practices, the better their handwriting will be.
To help encourage your child to work on their handwriting, you’ll find seven different tips below. But before we get to those, let’s quickly talk about letter formation and its importance.
Table Of Contents
- What Is Letter Formation?
- Why Does It Matter How Your Child Forms Letters?
- Tips For Teaching Letter Formation
- Handwriting Doesn’t Have To Be Boring!
What Is Letter Formation?

Letter formation is the process of using the correct strokes and making sure letters are in the correct proportion with each other. This includes the physical act of forming the letter and the mental process of knowing which strokes to use.
There are many different styles of teaching handwriting. For example, Handwriting Without Tears, D’nealian, and Zane Bloser are common handwriting programs taught in schools.
To avoid confusion for your child, ask their teacher which one they use. That way, your home practice sessions will reinforce what they’re learning in the classroom.
If you’re homeschooling or your child isn’t yet in school, pick one style and stick with it. Even if they begin learning in a school setting and are taught differently, using only one style in the beginning can minimize confusion about how they should form each letter.
Why Does It Matter How Your Child Forms Letters?
Handwriting is complex. There are 26 letters in the alphabet, each with a distinct formation. And if you consider the differences between uppercase and lowercase letters, that makes 52 letters for your child to learn.
What’s more, some letters start at the middle line and others at the top. Kids also must keep track of diagonal lines, horizontal lines, and curves.
It can be overwhelming, especially for young children! But you want them to learn how to form letters correctly from the start. Otherwise, they’ll continue to make the same mistakes each time they practice.
And while you might be happy that your child is writing letters no matter what they look like, good letter formation is essential. However, you don’t want your child to dread handwriting. If that happens, they may hesitate to write because it’s no fun or they might be criticized.
A good principle is that when your child is writing to get ideas out — to express themselves — perfect penmanship isn’t important. But with regular (fun!) handwriting practice, your child’s mind and hand will begin to automatically form letters correctly without a lot of extra effort.
Here are two key reasons why handwriting is a skill worth practicing.
1) Good Letter Formation Helps Children Write Fluently
If your child struggles with letter formation, it will slow down their writing. In turn, this can make them lose interest in writing altogether.
On the other hand, if they form their letters correctly, they’ll be able to write more quickly and fluently. This makes it more enjoyable and helps them believe in their writing abilities.
2) Proper Letter Formation Makes Writing Easier To Read
It’s also worth noting that poor letter formation can make your child’s writing harder to read. As they get older and their writing becomes more complex, that’s even more of an issue. It can even become a source of embarrassment and stress.
If your child learns to form their letters correctly at a young age, it will save them a lot of frustration down the road.
Tips For Teaching Letter Formation
Now that you know why letter formation is important, let’s talk about how to teach this skill to your child. These tips will make the process easier and more fun for you both!
1) Practice Regularly

Regular practice is the best way to help your child improve their handwriting. Set aside time each day for handwriting lessons. Even 10 minutes will make a big difference!
2) Offer Encouragement
Children need encouragement to stay motivated. So, as you’re working with your child, give them plenty of positive feedback. Congratulate them when they do a good job and offer words of encouragement when they struggle.
It’s also helpful to give them specific compliments. For example, “I love how you made that letter ‘b’ face the right way!” or “Great job starting on the middle line with that lowercase ‘c’!”
3) Catch Mistakes Early
As your child forms letters, it’s important to catch mistakes early. If they make a letter incorrectly, point it out and have them fix it right away.
Otherwise, you risk them making that mistake a habit. And handwriting habits can be hard to break!
4) Watch For Common Struggles
Learning to form letters properly can be a challenge for young children, and there are many struggles when practicing handwriting. Let’s look at a few of the most common ones and how to handle them.
Easy-To-Reverse Letters
Letters that are easy to reverse, such as the lowercase “b” and “d,” can be tricky for kids to form.
If your child is struggling with these letters, have them trace the letter a few times before attempting to write it independently. You can also have them write it in the air with their finger first.
Confusing Letters That Look the Same
Some letters, like “p” and “q,” and “m” and “n” use similar strokes and can be easily confused as well. This can lead to mix-ups and frustration for your child.
Again, it can be helpful to start with some tracing exercises. Then, have them say the letter out loud as they write to help them keep the letters straight in their mind.
Struggles With Fine Motor Skills

If your child struggles with fine motor skills, they may find it challenging to form letters correctly. This is often an issue for younger children or those with learning disabilities. Dysgraphia — an impaired ability to process or produce letters and written words — makes handwriting especially difficult.
Try some finger strengthening exercises to help develop these muscles. For instance, have them slide dry pasta onto a drinking straw. They’ll be working on their fine motor skills as they pick up each piece of pasta and maneuver it.
You can make this fun by creating art with the straws and pasta!
Starting At The Bottom Instead Of The Top
Pulling a pen or a pencil is much easier than pushing one! With this motion, you’re much less likely to rip the paper as you write. In addition, you use fewer muscles, which reduces writing fatigue.
That’s why teachers encourage students to start each letter at the top instead of the bottom. It may feel strange initially, but it can make letter formation much easier for your child.
If they’re having trouble remembering where to start, try putting a small dot where they should start each letter. They won’t need this visual cue forever, but it can help until muscle memory kicks in.
5) Start With Uppercase Letters
Many commonly confused letters are lowercase. The uppercase letters look visually different enough that they’re less likely to be confused.
Start teaching uppercase letters first. Then, once your child has the hang of those, you can begin introducing lowercase letters.
6) Practice Pre-Writing Strokes
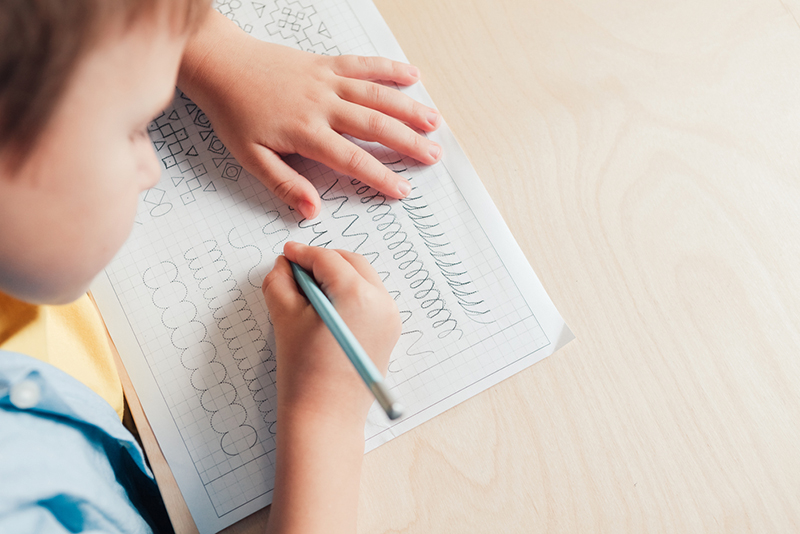
All letters are made from a few basic lines and shapes. Your child can practice drawing these shapes without writing any letters at all. This helps them develop the muscle memory they need to form their letters correctly.
Here are a few strokes to practice:
- Circles
- Horizontal lines
- Vertical lines
- Diagonal lines
- Zig-zags
- Spirals
Create strokes at the top of a paper for your child to copy. Alternatively, there are plenty of pre-writing worksheets online. For example, our Follow the Road printable and Maze Printables are fun ways for kids to practice early writing strokes!
7) Involve Multiple Senses
Practicing letter formation might seem tedious, but it doesn’t have to be! Instead, make it more fun and engaging by involving as many senses as possible.
Here are a few of our favorite writing activities.
Baked Letters
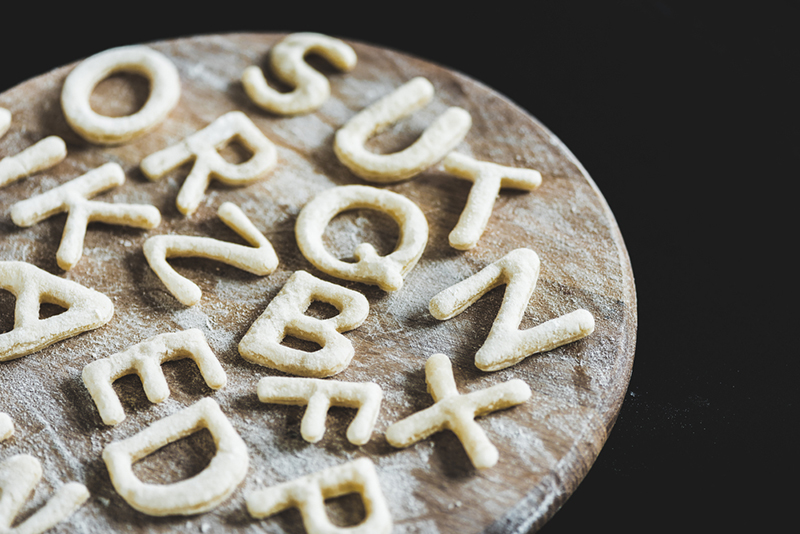
What You’ll Need:
- Prepared pizza or bread dough
- Egg white
- Water
- Coarse salt (optional)
What To Do:
Have your child shape some letters out of the dough. The letters in their name are a fun place to start!
Once they form the letters, mix the egg white and some water in a small bowl. Using a pastry brush, have your child brush the mixture onto the top of the bread. If desired, sprinkle on a little coarse salt.
Then, bake at 350 degrees until they’re golden brown (about 10-15 minutes). Enjoy!
Cotton Ball Letters
What You’ll Need:
- Paper
- Scissors
- Glue
- Cotton balls
What To Do:
Cut a large letter out of the paper. Spread glue on it. Then, have your child attach cotton balls to the glue. Remind them to start at the top and work their way down, the same way they’d write the letter.
Natural Letters
What You’ll Need:
- Various natural materials (sticks, leaves, rocks, etc.)
- Paper
What To Do:
Ask your child to gather some natural materials outside. Then, challenge them to form letters from what they found. For example, can they put some sticks together to create the capital letter “E?” How can they arrange their pebbles to make a lowercase “c?”
Have them arrange these letters on a piece of paper to help with cleanup.
HOMER App
Let your child practice their letter formation skills with some educational screen time! The HOMER app allows them to practice forming letters and introduces them to different concepts of print.
They’ll be having so much fun playing that they won’t even realize they’re learning!
Handwriting Doesn’t Have To Be Boring!
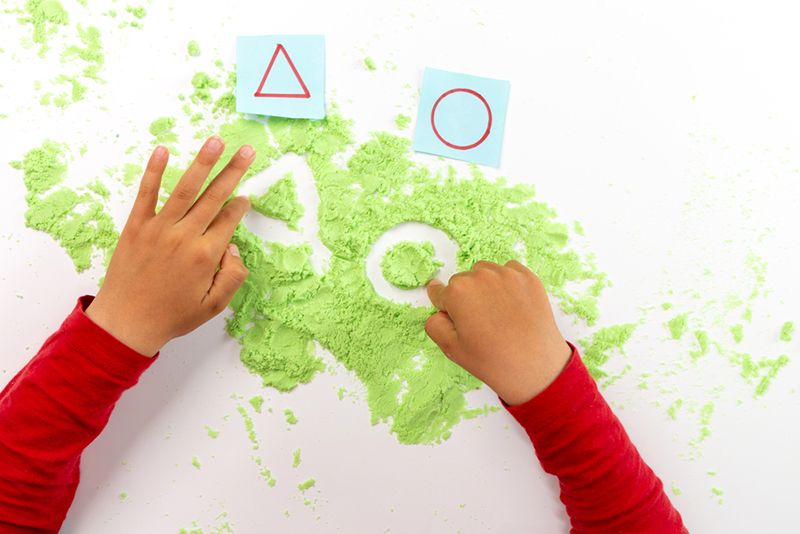
Getting your child to practice their letter formation skills can be challenging. After all, it’s not the most exciting thing in the world. But, with a little creativity, you can make it more fun and engaging for them.
Try out some of our favorite activities from the list above, and use the HOMER app for additional practice. You’ll be amazed at how much your child’s handwriting improves over time!


